Welcome to one of those oddly-specific internet guides! Before we jump into the tutorial, let's take a brief moment to discuss how we got here and why someone would want to bridge this particular arrangement of virtual reality technology.
When purchasing a VR headset, you need to make a decision about which hardware ecosystem you want to play in. Oculus and Windows Mixed Reality headsets leverage cheap inside-out tracking, but these headsets are typically only compatible with accessories made by that manufacturer. If you want to upgrade your Quest 2's Oculus Touch controllers, your only option is go for the Oculus Touch Pro controllers. HTC, Valve, and a few other manufacturers support a more open external base station outside-in tracking solution, but you're still stuck in that particular ecosystem. You can upgrade your HTC Vive controllers to the Valve Index controllers, but the hardware is still incompatible with the Oculus Touch controllers.
Thankfully when it comes to PC VR applications, these different hardware ecosystems all speak the same software language. The OpenVR software development kit provides a standard interface for hardware developers to describe where their accessories are in 3D space. Your games don't particularly care if you're using a Quest 2 or an Index headset, they just need to know how to use OpenVR. This has given the enterprising folks over at /r/MixedVR and the OpenVR Space Calibrator a common software space to try and glue this disparate hardware together.
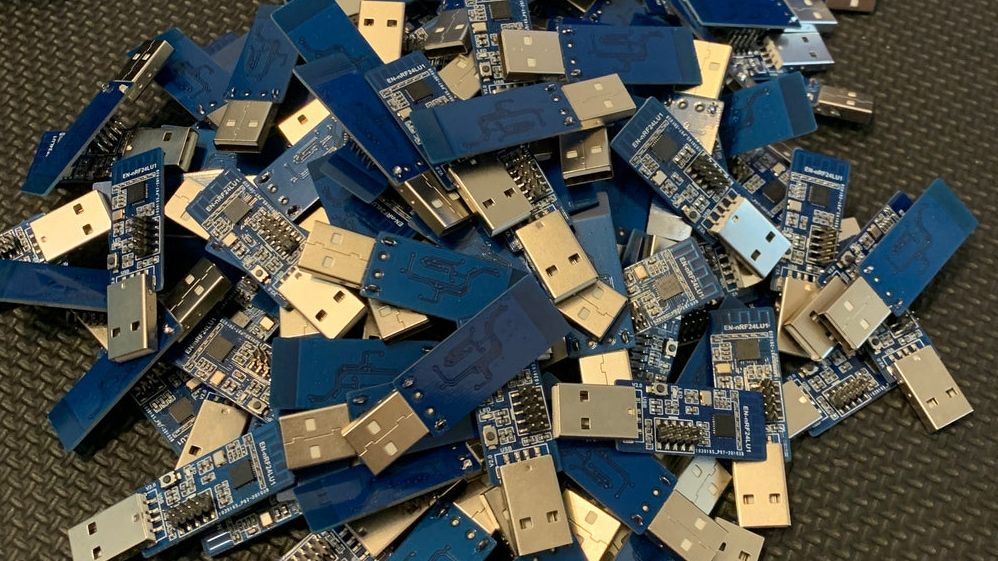
The catch is that working in a mixed VR system requires the hardware of both ecosystems. There's no clever software tricks to get around the requirement for the $250-300 USD room-scale base station pair. In addition to that, your PC can't natively connect to those fancy $280 USD Valve Index controllers. Outside-in tracked accessories rely on low-latency RF communication instead of slower common protocols like Bluetooth. You need a dedicated RF receiver per device that you want to track with your base stations. These USB RF receiver dongles cost around $20-40 USD each.
This USB receiver requirement may sound unusual to people familiar with the standard HTC Vive or Valve Index kits. Their controllers work fine without any special receiver hardware, why do you suddenly need to spend $80 USD for a mixed environment? Well, it turns out that HTC and Valve built a pair of RF receivers into the Vive and Index headsets themselves. You still need USB receivers if you plan on adding additional devices like the Vive Tracker pucks, but the headsets can connect to two controllers on their own.
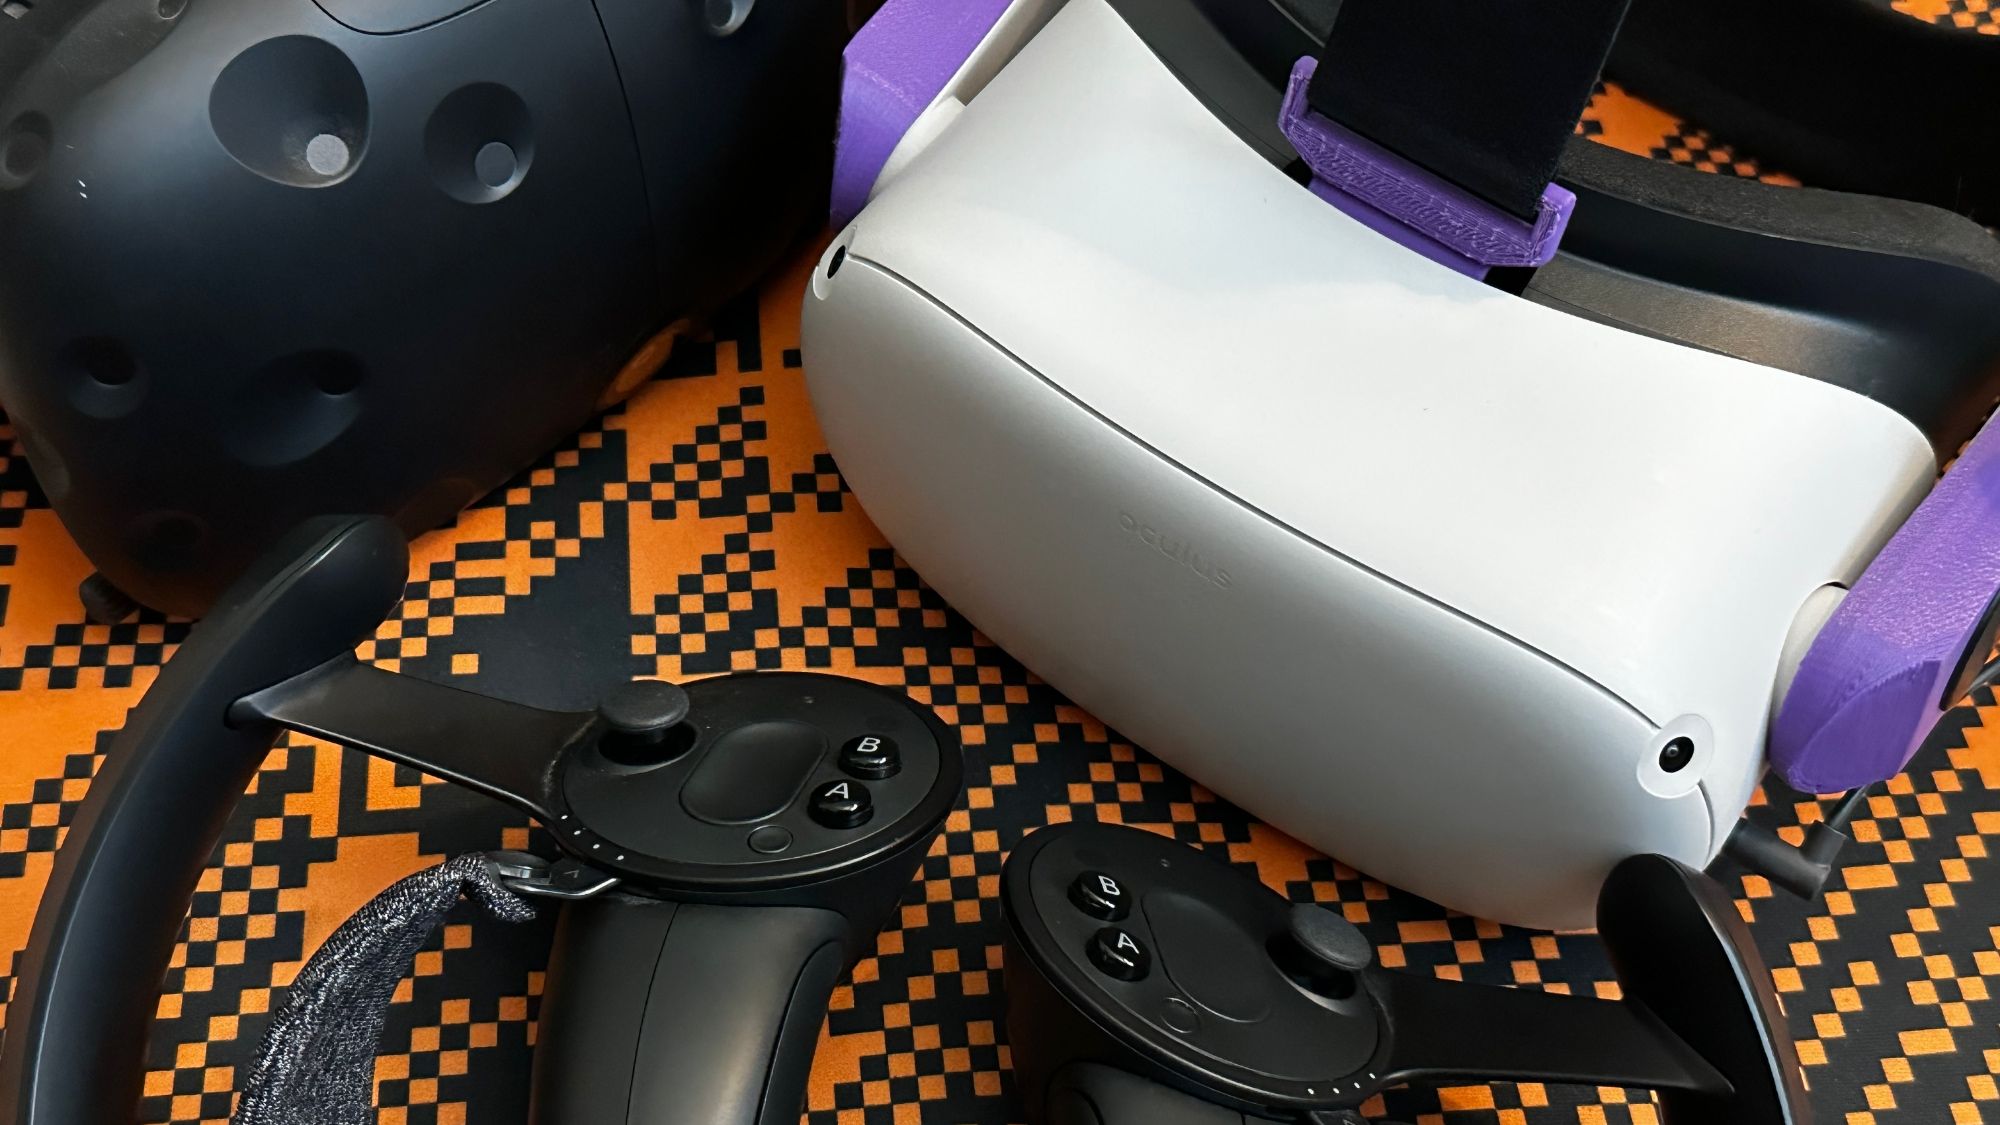
Here's where we get to the crux of this guide. If you happen to own an Oculus Quest 2, the Valve Index controllers, and an HTC Vive headset, you can use the Quest 2 and Index controllers together without needing to spend the extra $80 USD on a pair of USB receiver dongles. This article will walk you through the process of turning your HTC Vive into perhaps the largest and most expensive dongle in computing history. (In theory this technique should also work with a Valve Index headset, but I haven't been able to personally test it.)
This is admittedly a pretty niche use case. If you own an Oculus Quest 2 and are looking to upgrade to the Index controllers or get into full body tracking, the vast majority of guides are written with you in mind. You're going to be buying RF receivers one way or another, and the dedicated dongles are certainly the cheaper option if you're starting from scratch. If you own an HTC Vive or Valve Index, the base station ecosystem already has its own dedicated upgrade paths or wireless headset options.
I personally already owned the original HTC Vive kit, and had only upgraded the stock controllers to the Index controllers. I had fun with the setup for a while, but generally felt done with VR after that. Recently however, I happened to win an Oculus/Meta Quest 2 headset through a workplace raffle. I had heard that it was possible to get the Index controllers working with the Quest 2 headset, so here we are. It took a bit of research and piecing together details from various posts online, so hopefully collecting all this information together in one place will prove useful to someone else.
Preparation
First things first, both VR environments need to be up and running independently of one another. Configure your HTC Vive (or Valve Index) kit in the room you intend to use for PC VR. Set up the base stations, connect the controllers, and make sure you can hop into a SteamVR game. If you own both HTC's wand controllers and the Valve Index controllers, you only need to worry about setting up the Valve Index controllers with your Vive headset. At the end of this process, you want to make sure that if your Vive is plugged into your PC, when you turn on your Index controllers the LED switches from blue to green to signal that the controllers have paired to the headset properly.
Next, we need to get the Oculus Quest 2 up and running with SteamVR. There are several methods of playing PC VR titles on the Quest 2, but the general consensus is that the Virtual Desktop paid application delivers the best results. I've not tested these steps with a USB-C tether or the free Quest Link app. Define a Guardian boundary in the room you'd like to play PC VR in, and test that Virtual Desktop can properly play a PC VR title with the Oculus Touch controllers. While you're testing Virtual Desktop, open the Settings and navigate to the Input section. Disable the Hand Tracking option. Virtual Desktop creates a pair of virtual "controllers" for this feature, and it can interfere with later steps in this guide.
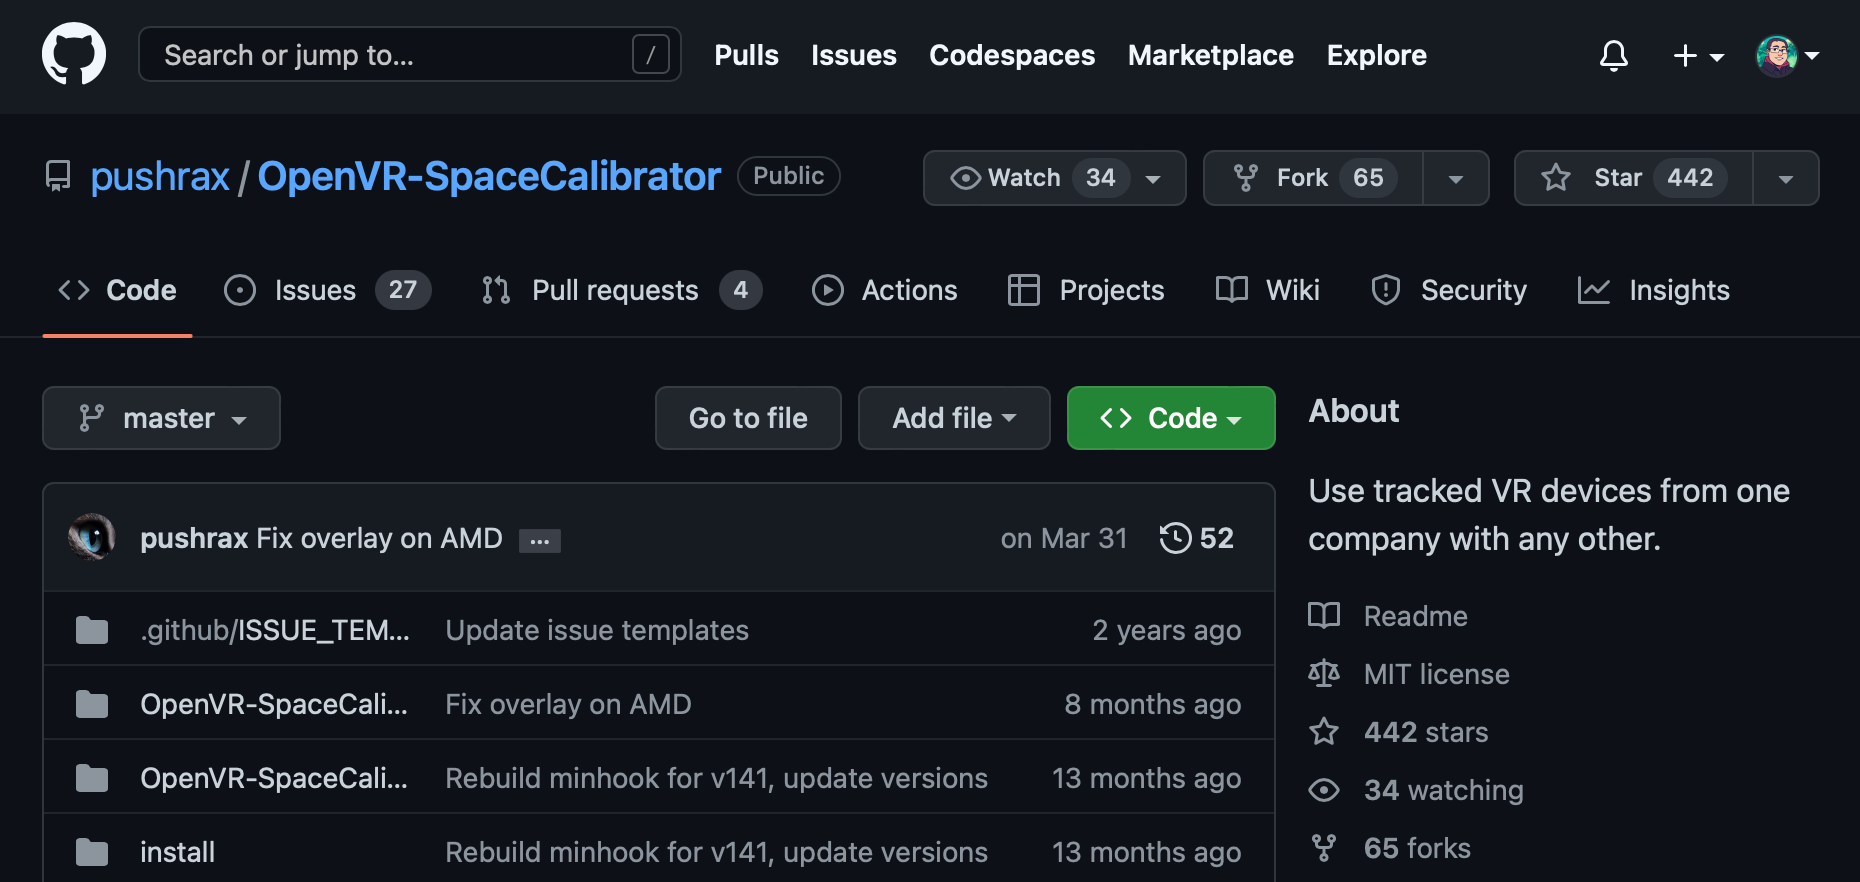
Now that we know both VR systems are working on the PC, go ahead and download OpenVR Space Calibrator. OpenVR is a common standard that PC VR applications use to talk to Oculus, HTC/Valve, or Windows Mixed Reality headsets. The OpenVR Space Calibrator app works as a bridge to combine the disparate hardware together and present it as a single understandable suite of devices to OpenVR applications.
The Process
These steps need to be performed each time you use your Quest 2 and Index controllers together. Yes, it's a bit of a pain to calibrate them every time. If you're just hopping into VR for a quick session, you can always go back to just using the Oculus Touch controllers.
- Plug in only the HTC Vive's power cable and USB cable into the Vive Link breakout box. Leave the HDMI cable unplugged.
- Make sure SteamVR is closed. (Restarting your PC can help if you want a true fresh start.) Launch the Virtual Desktop PC app if you don't have it set up to launch automatically.
- Turn on your Quest 2 and its Oculus Touch controllers. Put the headset on and launch Virtual Desktop.
- Once your PC's desktop appears in VR, stand where you would like to play and launch the OpenVR Space Calibrator app on your PC.
- A SteamVR grid should appear around you. There aren't be any UI elements in VR for you to interact with, so you'll need to get back into Virtual Desktop. Hold the menu button on the left controller until the Virtual Desktop UI comes back up. Select the
Switch To Desktopto bring your PC's screen back up. - Peek out of your headset and turn on the Valve Index controllers. Set them on the floor in the center of your play space.
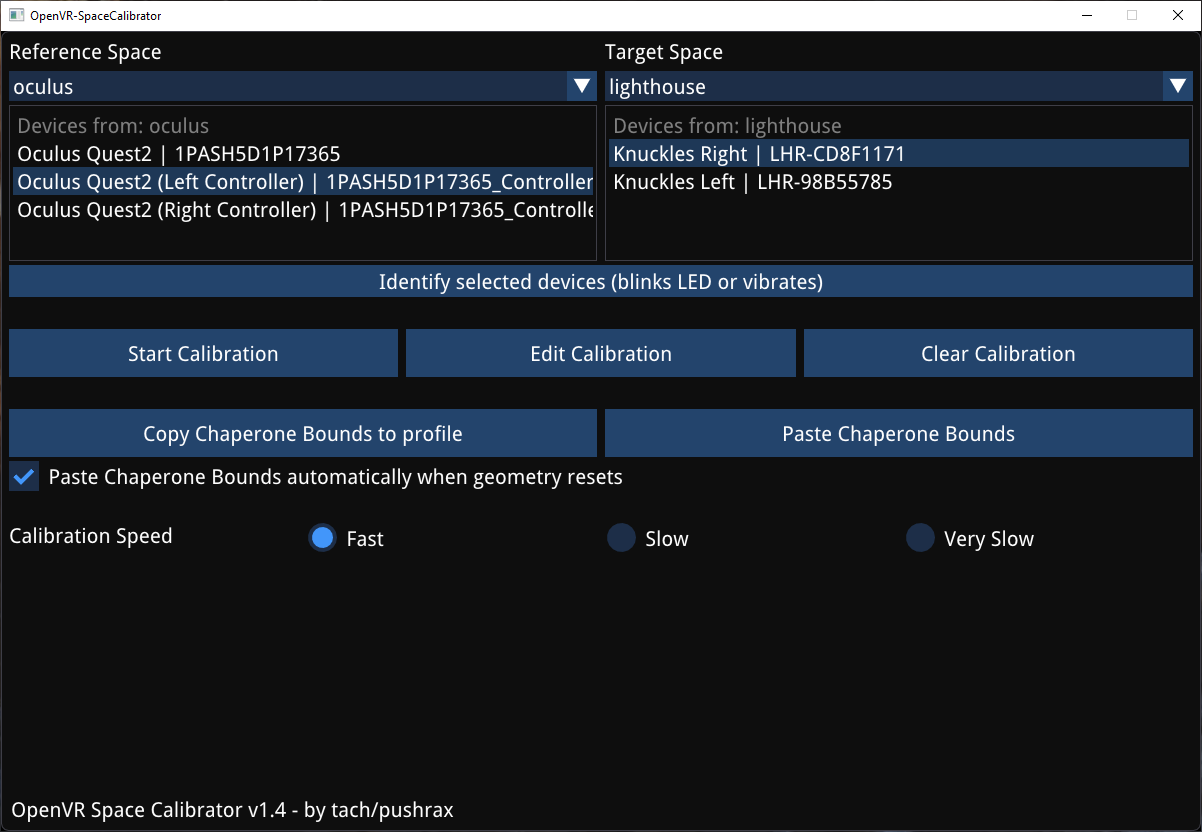
- Look back inside of your headset. You shoould be able to see the OpenVR Space Calibrator app on your PC's desktop. This app is split into two sections. You should see the Oculus headset and controllers on the left side of OpenVR Space Calibrator, and the Index controllers on the right side of the app. If you don't, make sure the left dropdown reads
oculusand the right dropdown readslighthouse. - In OpenVR Space Calibrator, click
Copy Chaperone Bounds to profile. - Select a matching pair of Oculus and Index controllers in the two panels. You can choose either both left controllers, or both right controllers.
- Put the Index controller you selected on. Pick up the matching Oculus controller with the same hand. (You can leave the other two controllers on the floor.)
- Hold the two controllers together firmly. You want to make sure that if you move the controllers around, they stay pressed up against each other without sliding or changing their orientation. They don't need to be pointed or held in a particular way, they just need to be tracked together.
- Click the
Start Calibrationbutton. (You can do this with the Oculus Touch controller you're holding next to the Index controller. Just use your free hand to carefully push the trigger in without losening your grip.) - Take the Index and Oculus controllers you have been holding and move your hand in a large figure eight pattern in front of you. (Similar to how one would adjust the compass feature on a smartphone.) Twist your wrist a bit and make sure you've looked at the controllers from a few different angles.
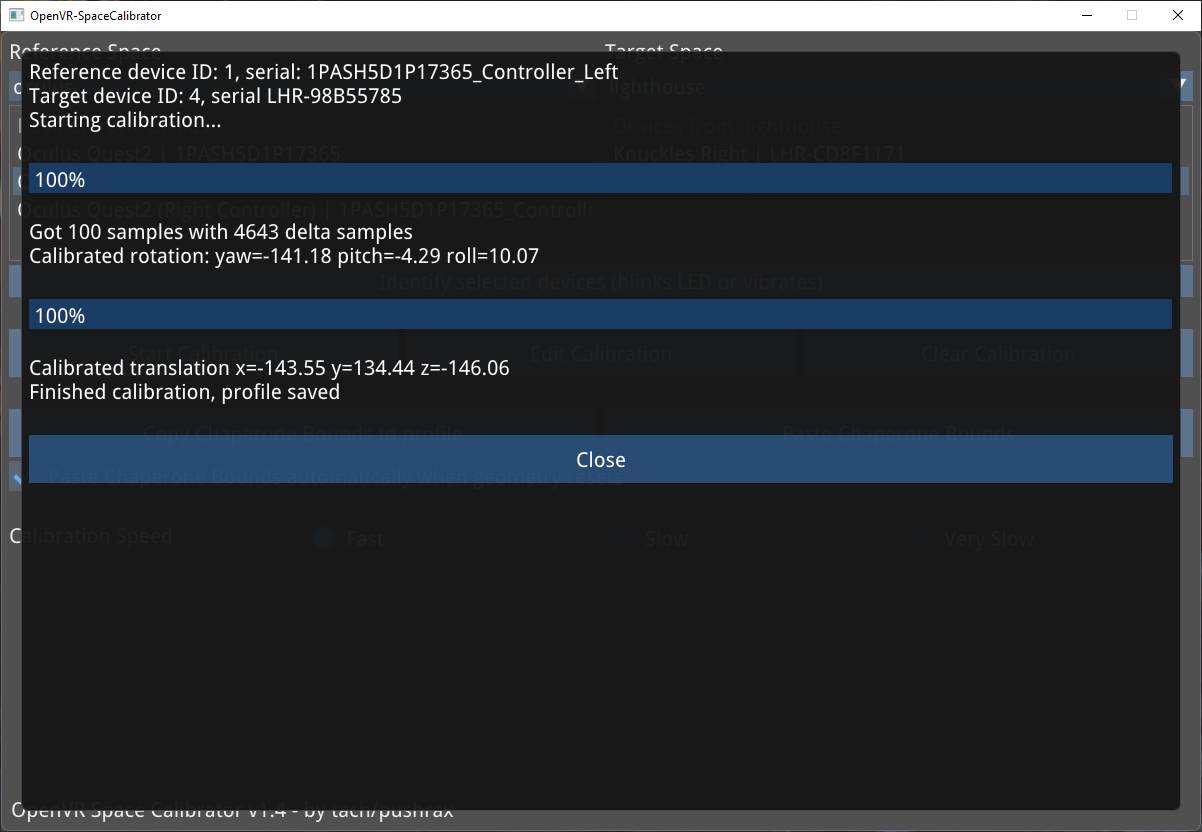
- After both progress bars have been filled, the calibration should be complete. You do not need to repeat this process for the other two controllers. Click
Close.

- At this point, OpenVR is tracking both your Quest 2 and Index controllers without your Vive headset. Hurray! To verify that the Index controllers have been calibrated properly, press the menu button on the left Oculus Touch controller. Choose Virtual Desktop's
Switch To VRoption. - You'll get put back in the blank SteamVR grid. If everything worked properly, you should see all four controllers tracking in the same virtual space. If the Index controller you didn't perform the calibraiton with isn't showing, you may need to pick it up and move it before it will appear in the virtual space. If you don't see all four controllers at this point, or don't like the accuracy of the calibration, repeat steps 9-15.
- Once you're happy with your calibration, quit SteamVR. You may do this with the Oculus Touch controllers, or using your PC's mouse outside of VR. Quitting SteamVR will also close OpenVR Space Calibrator and turn off your Index controllers.
- To quit SteamVR with the Oculus Touch controllers, hold the menu button on the left Oculus Touch controller. Select Virtual Desktop's
Switch to Desktopoption, and then use the Oculus Touch controller to quit SteamVR on the desktop interface.
- To quit SteamVR with the Oculus Touch controllers, hold the menu button on the left Oculus Touch controller. Select Virtual Desktop's
- The final step is to disconnect the Oculus Touch controllers from the Quest 2 headset. Gently slide open the battery compartment on each controller and remove the AA battery. Set each controller down somewhere safe outside of your playspace.
- Pick up your Index controllers and turn them back on. This should automatically launch SteamVR and the SteamVR Home application.
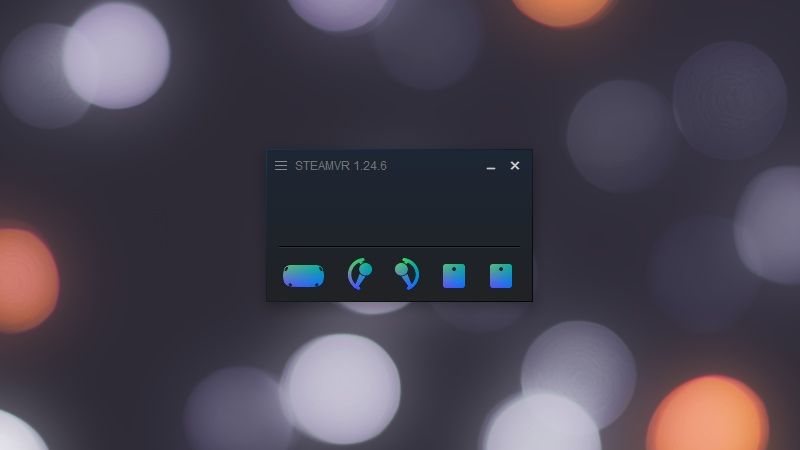
If everything is working properly, SteamVR should only show your Quest 2 headset icon, the two Index controller icons, and the two base station icons. That's it! Pick a game from the SteamVR Home environment and enjoy your wireless high resolution headset with finger tracking controls. Once you're in a game the experience should be seamless. Your Quest 2 will use its native Guardian boundary system and the Index controllers will track and behave as usual.
Caveats
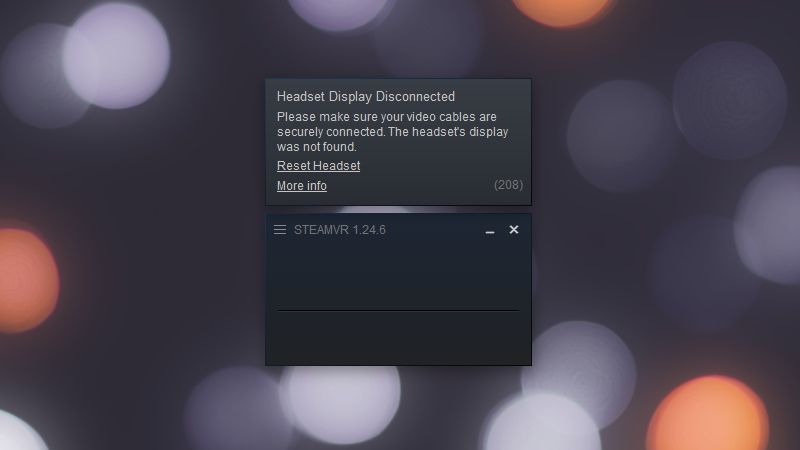
This process is really finicky. Unlike the USB RF dongle route, SteamVR likes throwing errors when you try to launch it with the Vive's HDMI cable unplugged. If the software gets started outside of the proper sequence, SteamVR or OpenVR Space Calibrator may complain about not being able to connect to the hardware properly. If this happens, close out of everything and try starting the sequence over again. Restarting your PC's always an option if you need to get back to a clean starting place.
Once you're in VR, the Index controller's menu buttons will open up the SteamVR menu. This works well for switching between games, and SteamVR has its own desktop interface for interacting with your computer. You won't be able to interact with the Virtual Desktop application or any part of the Oculus Quest's native operating system however.
Once you get things running it works well, but this all takes a while to set up. You need to recalibrate OpenVR Space Calibrator any time you want to play with the Index controllers. If you decide to take a break from VR and your headset goes to sleep, you'll also most likely need to recalibrate the controllers. One of the nice benefits of the Quest 2 is how easy it is to just hop into a game. Making it work with the Index controllers takes nearly as long as configuring a play space for use with a wired headset. If you're just killing 20 minutes in Beat Saber, it's probably best to just use the Oculus' stock controllers.
Conclusion

When a Quest 2 suddenly dropped itself into my lap, my initial thought was, "Oh great, I've seen some references online to using this with those expensive Index controllers I bought a few years ago." The reality of the situation was unfortunately a bit more complicated than I was expecting, but it's still impressive that these two pieces of hardware are working together at all. It's ridiculous to use an entire VR headset as a as a glorified USB dongle, but hey, it saved me me $80 USD.
I'm not sure I'd recommend investing in a mixed VR system, but /r/MixedVR has been a good resource if you find yourself in this same boat. Hopefully this guide helped someone else straddling three generations of VR tech. Oh, and before this article wraps up, I should probably call them the Valve Knuckles controllers at least once for search engine purposes.
*The HTC Vive headset and Valve Index controllers featured in this writeup were purchased by the reviewer. The Oculus Quest 2 headset was won in a work raffle.