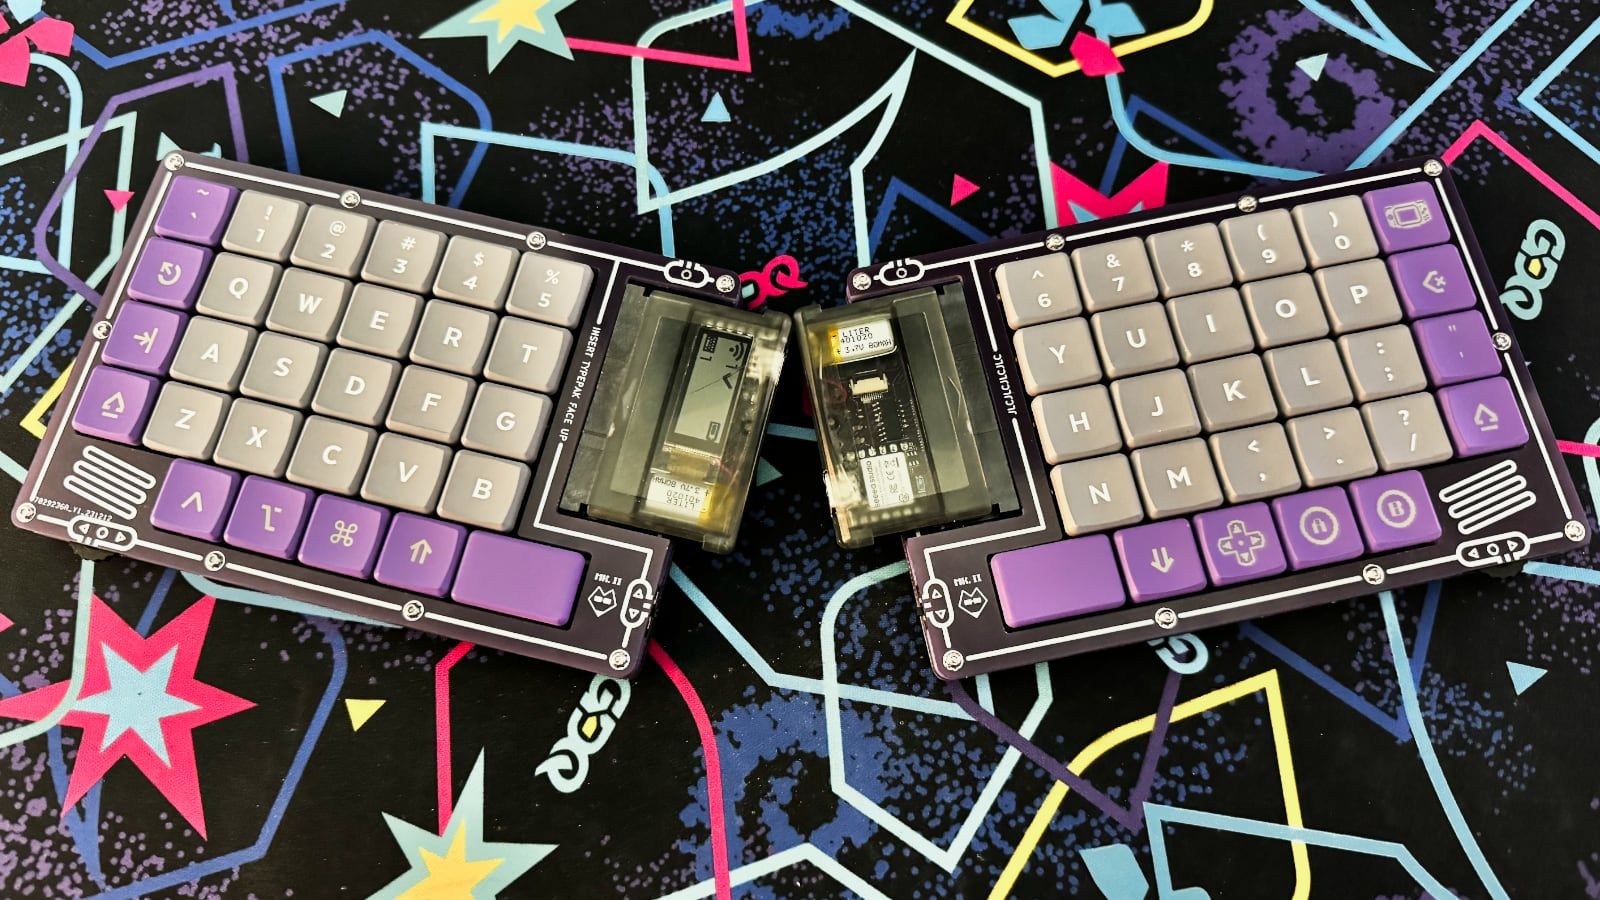
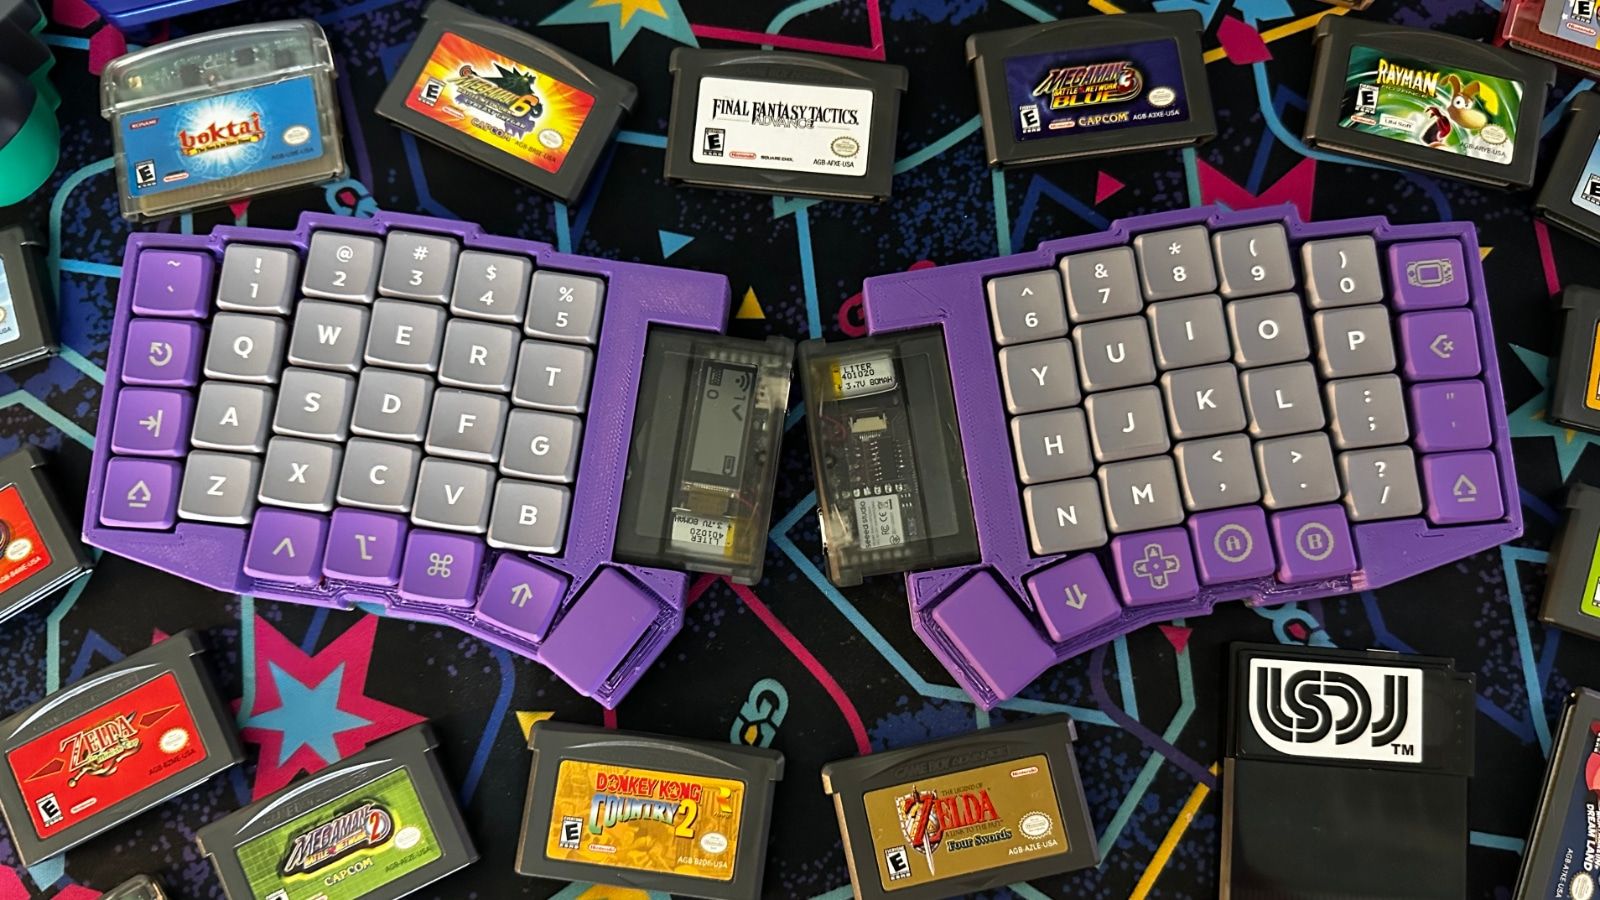
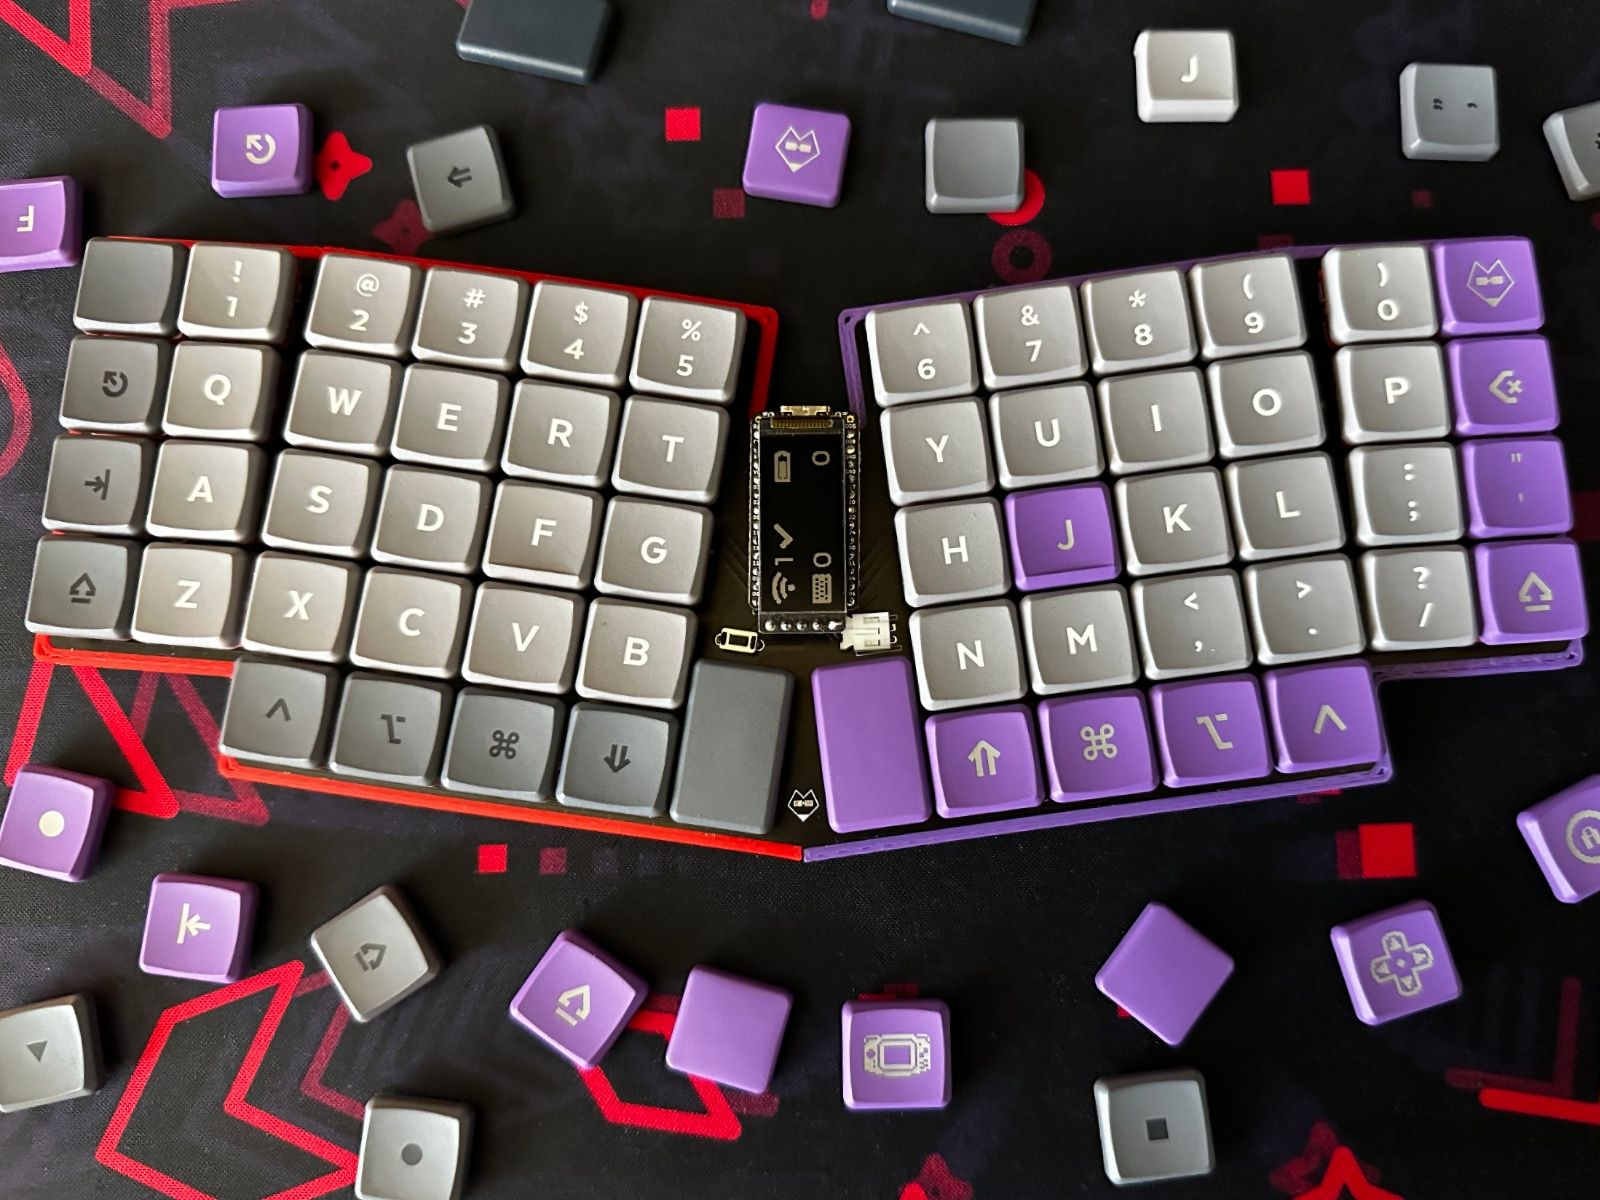
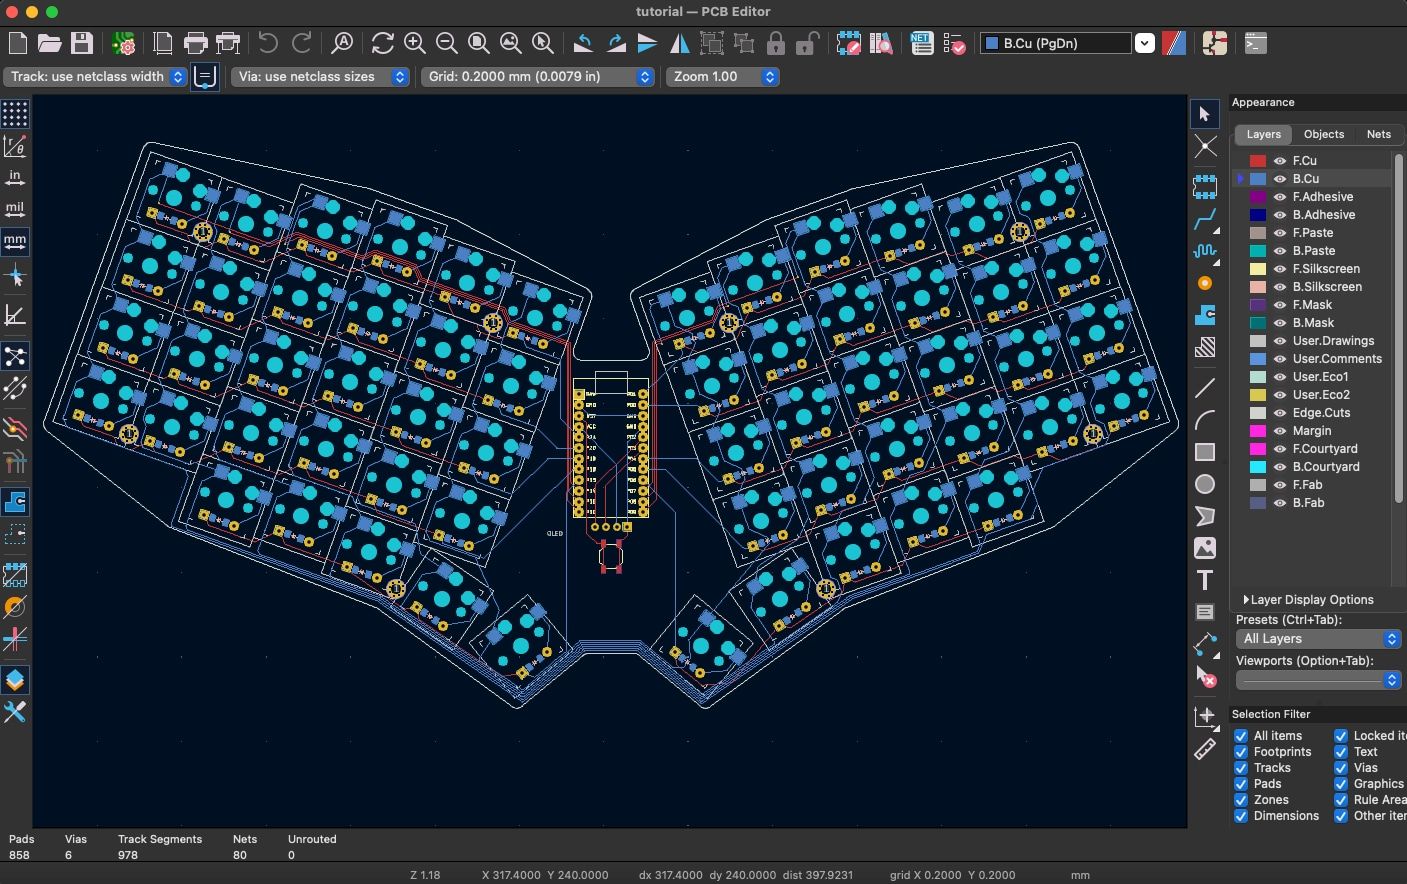
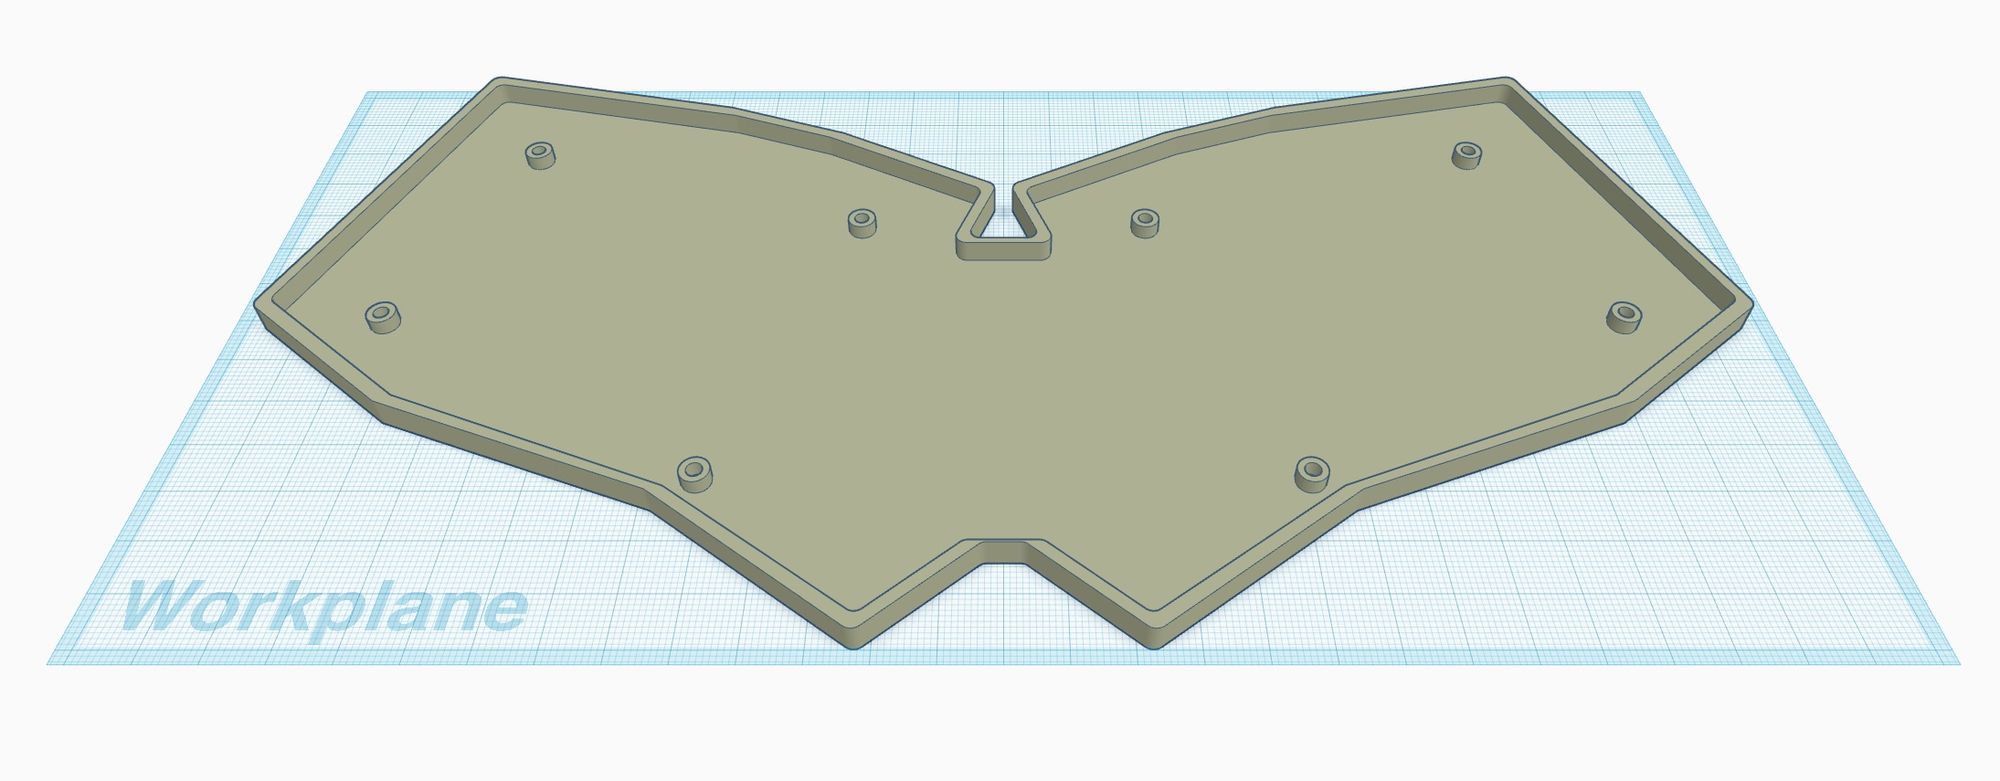
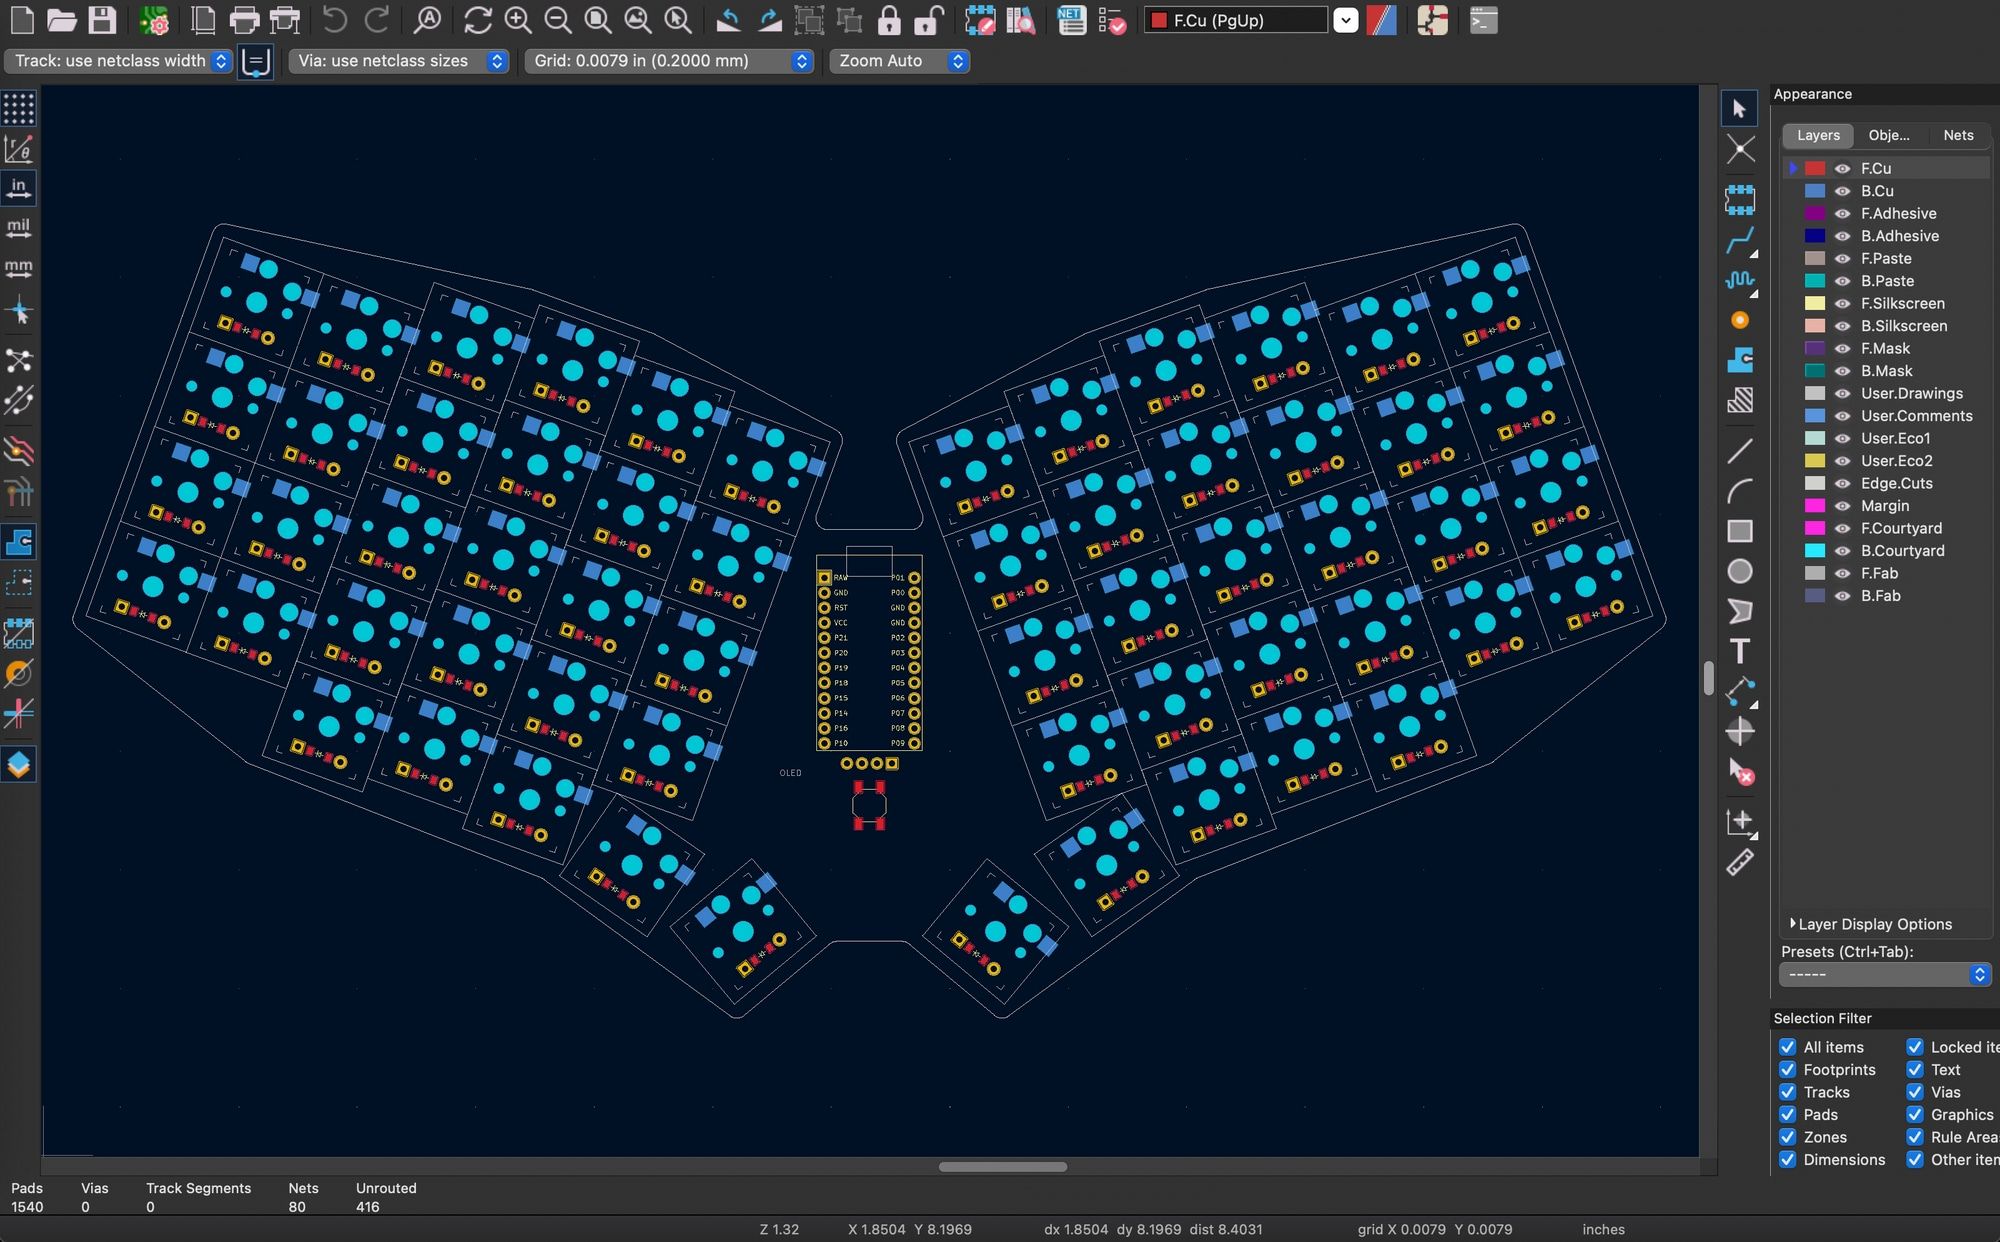
The Mark II is a revision to the original TypeBoy split ergonomic keyboard. It once again uses a TypePak cartridge to house all the primary keyboard components.
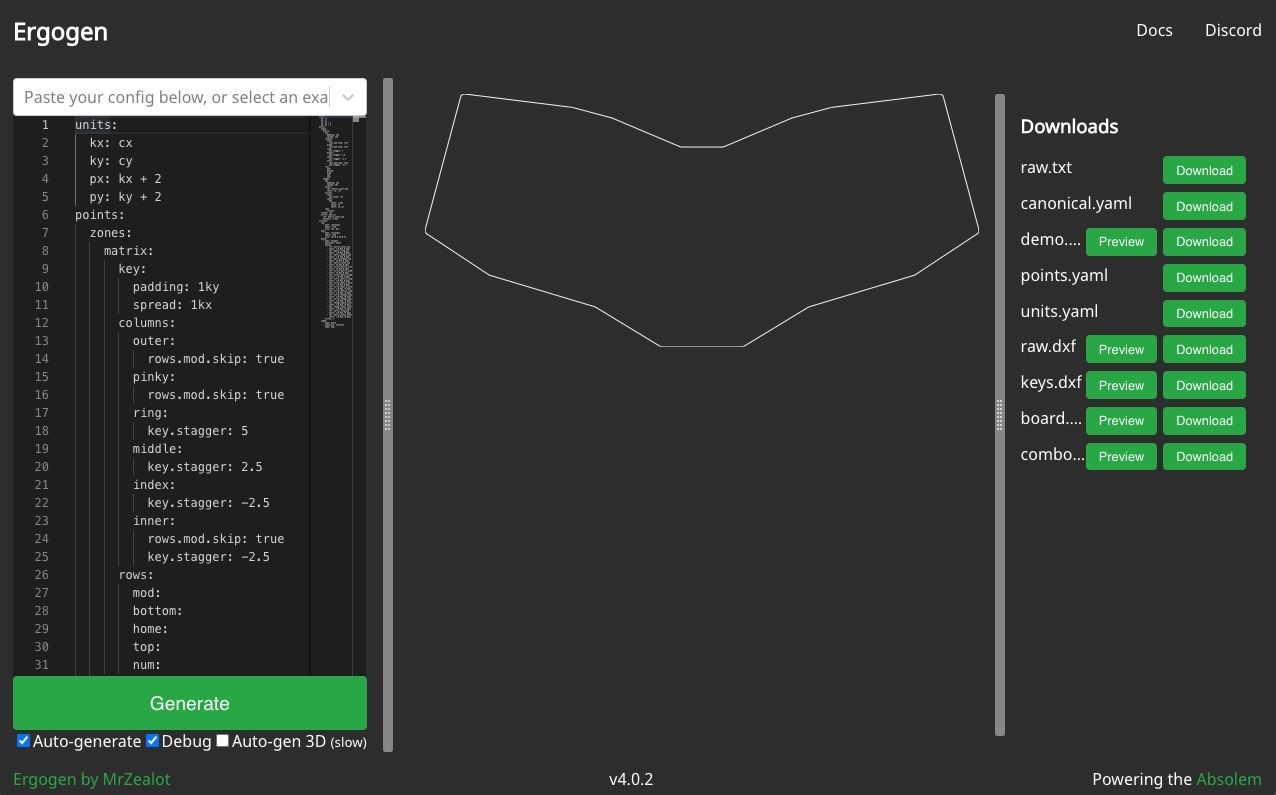
In this section of Let's Design a Keyboard with Ergogen v4, we're wrapping up the last few bits of functionality. Installing it locally, adding custom footprints, and designing a case!